Reprap

Hobbed Bolt

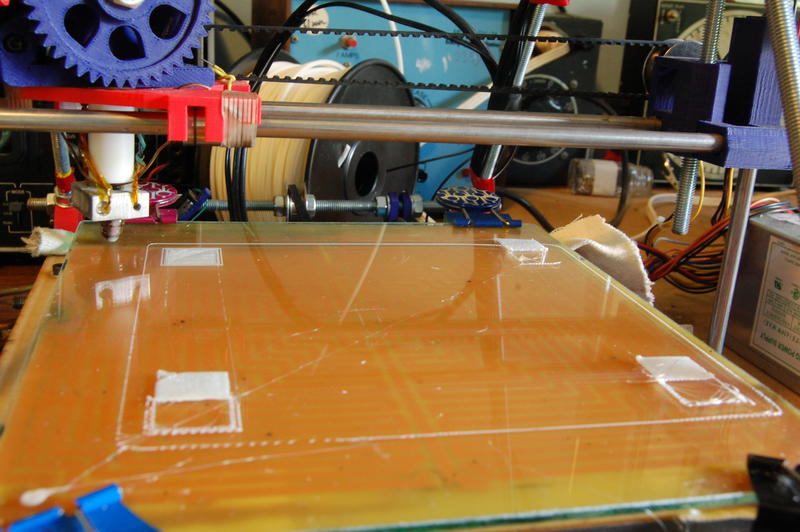
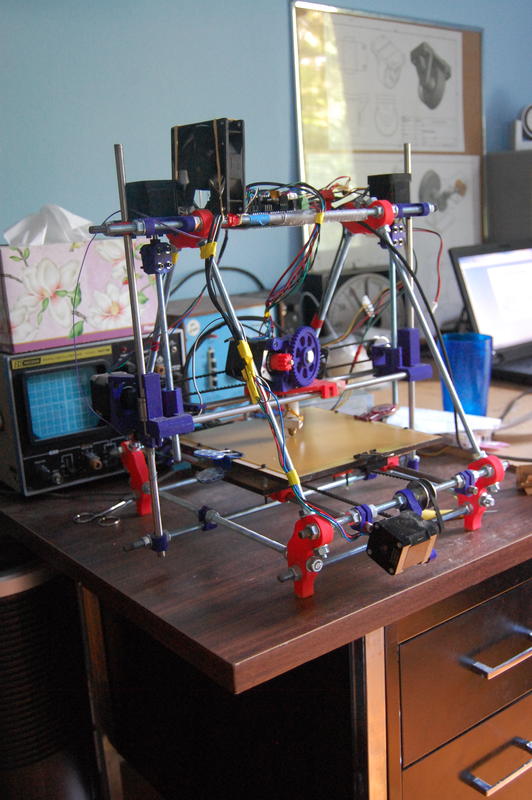
Wow. It's been a while since I worked on this. In fact, the whole thing's a bit dusty. I'll give it a good cleaning before I start printing.

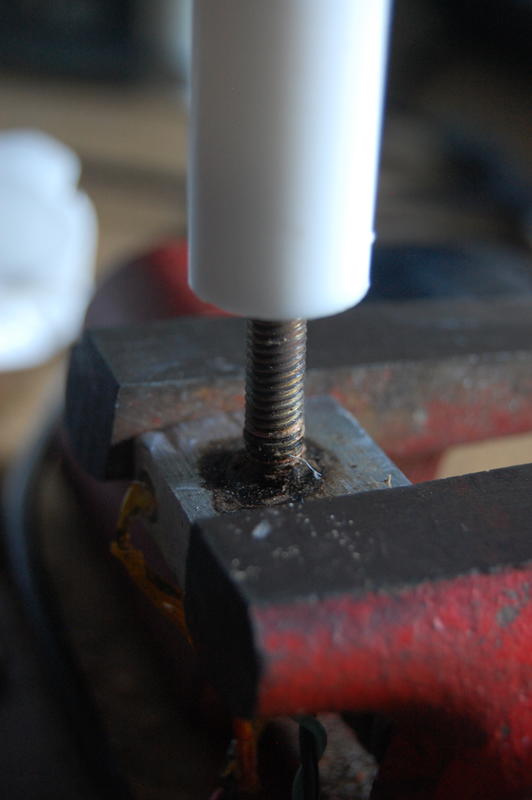
Towards the end of last summer, I realized that the old hobbed bolt - the thing that drives filament into the hot end - had worn out. Hobbing is threading on the bolt that grabs the filament and drives it into the hot end. The printer doesn't print so well when it can't push filament.

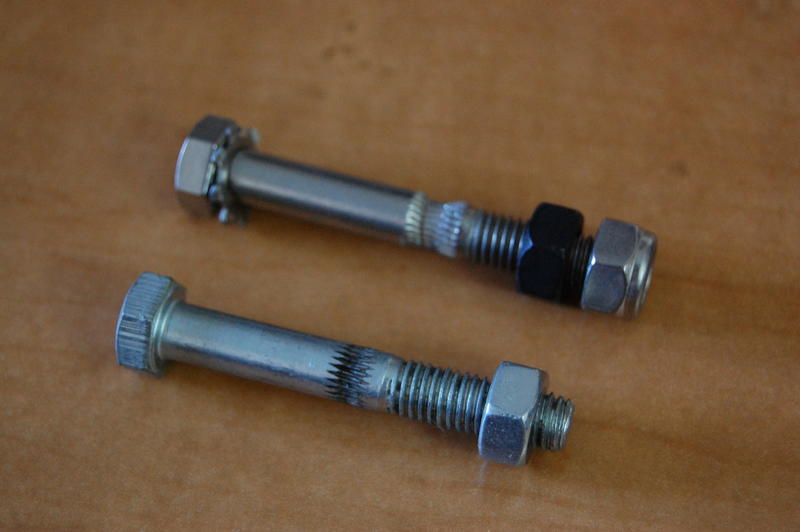
Recently, I bought another hobbed bolt, and it just arrived!

When I went to swap it in, I found the hobbing (notches) were in the wrong place, and ran to the engineering building for some spacers.

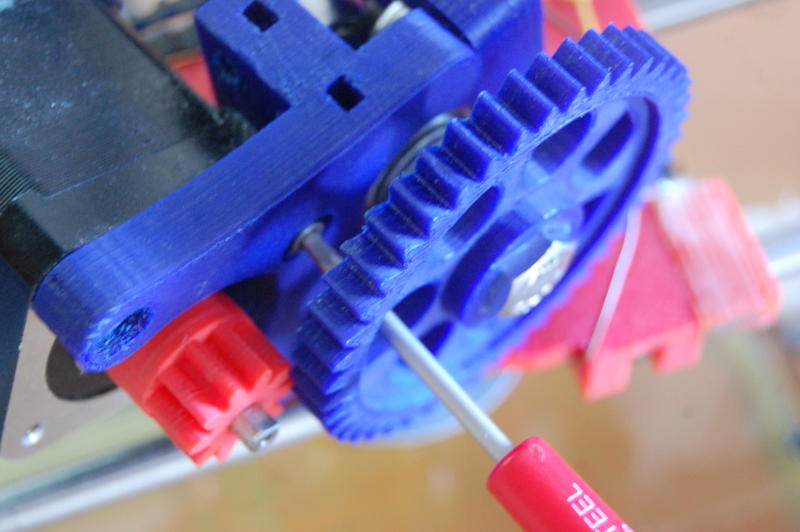
Next problem: with the spacers in place, the gearbox doesn't line up anymore. The big gear stands off too far from the drive gear. So, I popped off the stepper motor and pried at the gear with a screwdriver. (Fun fact: the right tools make anything easier. I don't have the right tools.)

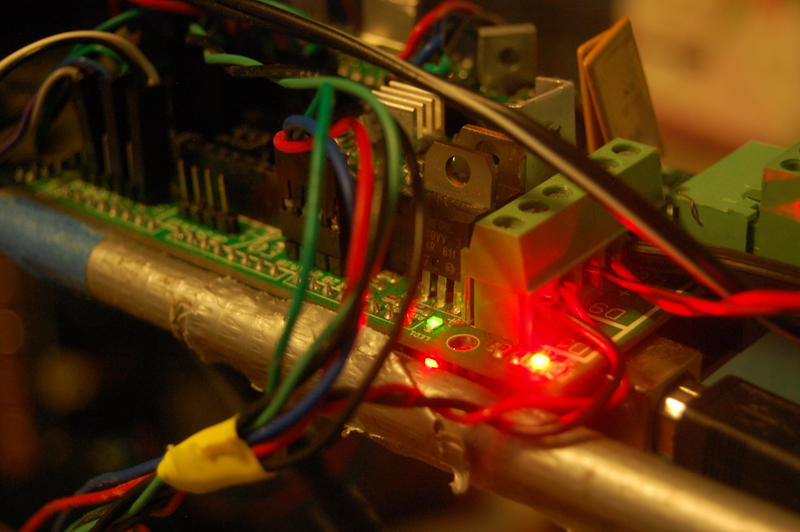
Now to power it up! Steppers - check. USB - check. Power - check. Power supply online. Serial connection up. Temperature probes working. And the Z axis takes a dive.

Not working yet, but it's still alive. Cool.

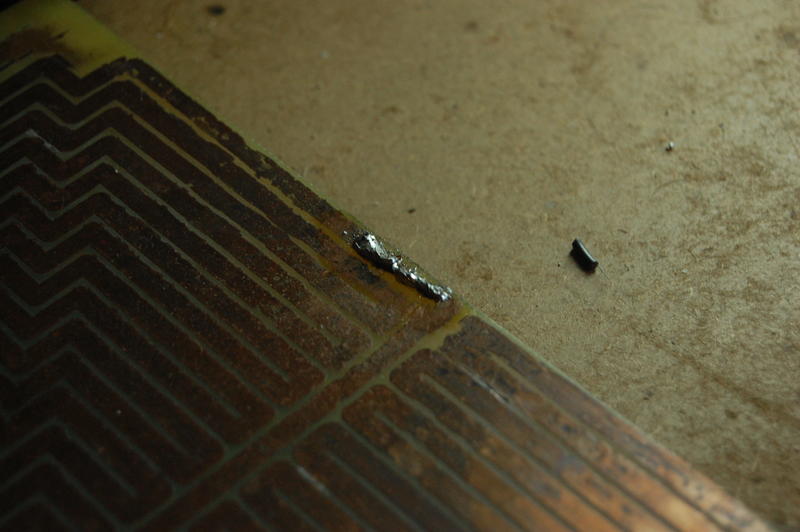
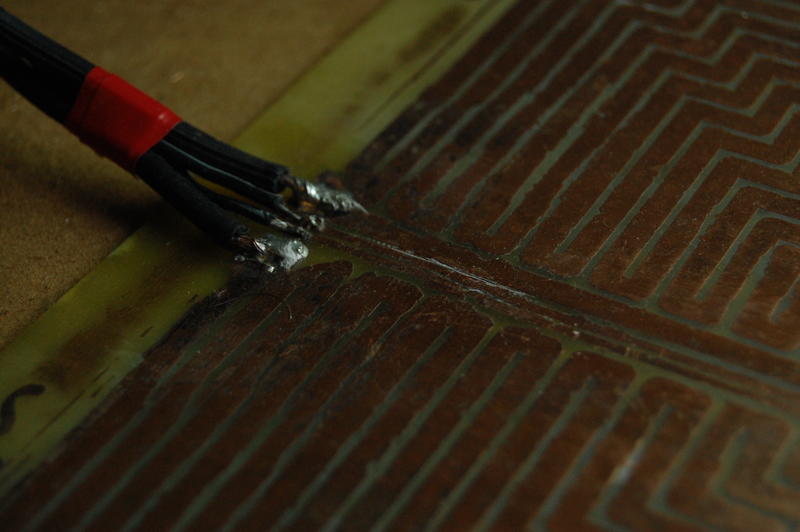
The X axis is fine, as is Y. Z needed to be plugged back in; one of the connectors had worked loose. And with that, the printer was back. Time to figure out the hot end!

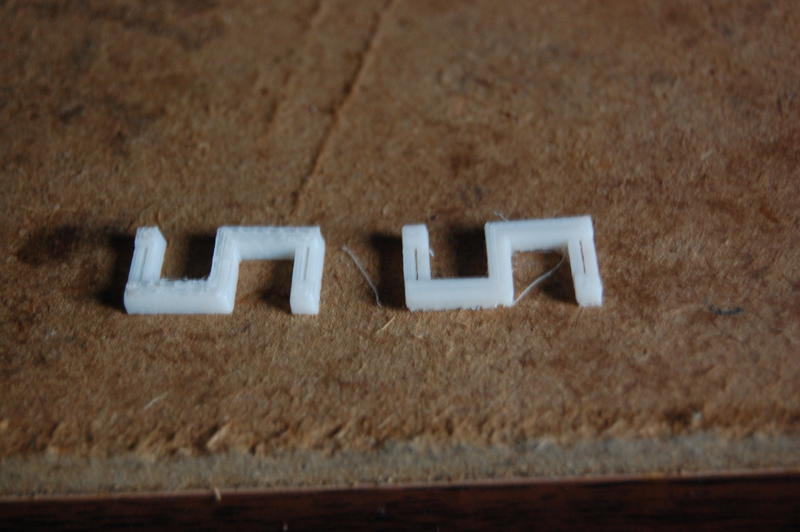
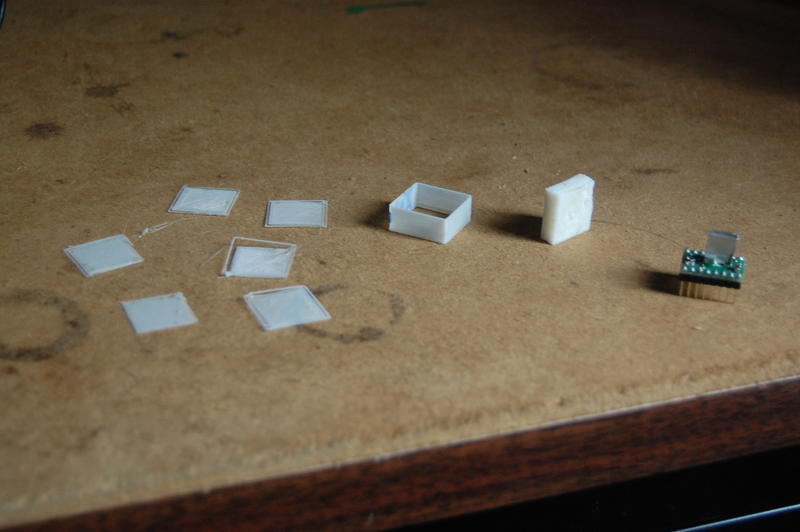
I took apart the hot end, which had fallen apart in transit from home to school, then reassembled it. I also put stronger springs into the cold end - should provide more driving force.

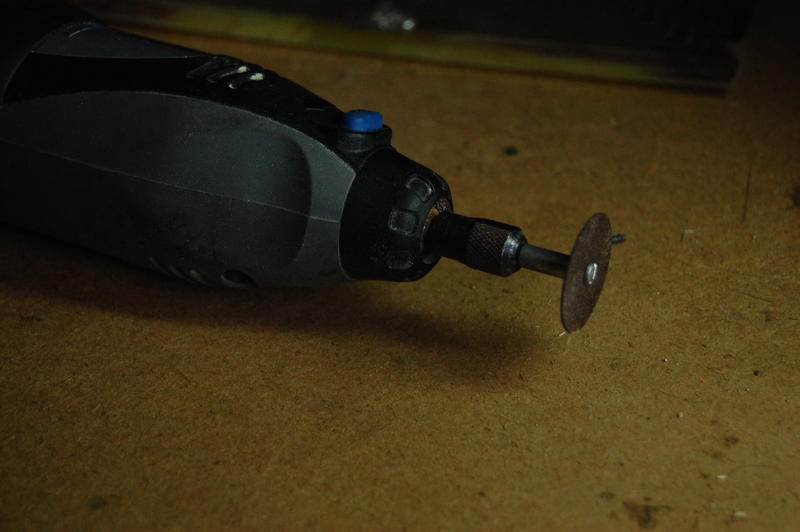
Problem, though. The pocket holes for nuts in the cold end are smaller than the nuts themselves. I guess the saying's true: when all you have is a dremel, everything looks like it needs a good grinding.

So, I ground the holes bigger. What can I say - it worked!

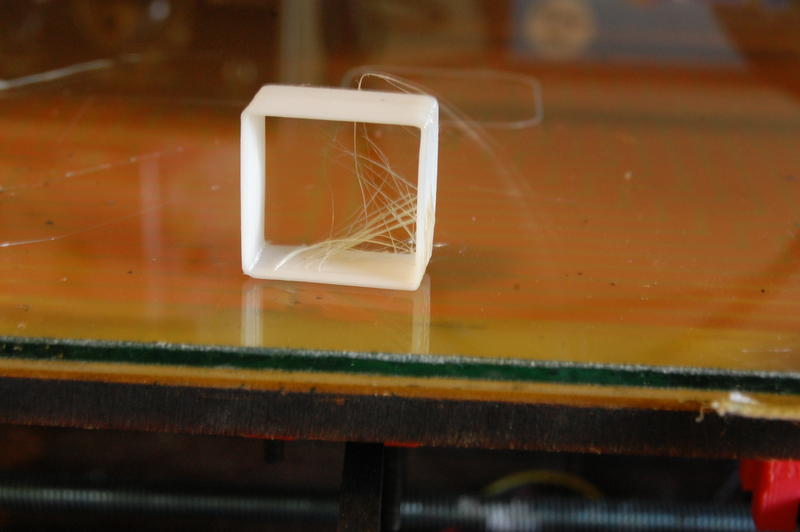
The hot end, cold end, and axes are all together. Time for some testing. And then, god willing, extrusion!

First Print and Rebuilding

As the title suggests, today I made my first real prints. I've been having trouble with tensioning the y-axis belt, and Thingiverse had a printable tensioner. Perfect! I printed two. I also found a model of Curiosity, which piqued my interest. As I was printing, I found a problem with the extruder: as it runs, the PFTE insulator heats up to the point where the PLA may become elastic before entering the heating chamber. The pressurized PLA squeezes itself into a plug just before entering the PFTE insulator, and stops the flow of plastic. Without new plastic entering the barrel, flow slows, then stops, ruining the print.

Commisioning and Recap

After much hard work and many failed motor controllers, the printer is ready to go. Since leaving school, I've brought all four motor controllers online, etched a heated build plate, added a glass build platform, replaced the Y belt tensioner, printed a ton of plastic squiggles, and calibrated the printer by printing boxes. I plan more modifications, like a holder for the filament, but they're not required.

It's finally ready to print. I'm going to go over the upgrades one by one now. A printed object should show up here soon.

The heated bed and glass build plate both help plastic adhere to the bed. Heated or not, the bed must be coated with either masking tape or glass - neither PLA nor ABS will adhere to most materials. Adding heat helps further: as the plastic cools, it shrinks. The deformation can throw off prints. Heating the build plate minimizes deformation while improving the bond between glass and print bed.

I made the heated plate from a single sided raw PCB, using the toner transfer method. I printed the board pattern onto a page of magazine rag, then cleaned the board and ironed the page onto it. Next, I washed off the paper (the toner remelted, and stuck to the copper).  With the board masked, I bathed it in a mixture of HCl and CuCl2. Both compounds remove copper from the board, creating either CuCl2 or Cu2Cl2. With the exposed copper removed, I cleaned off the toner using paint thinner and steel wool, then soldered a thermistor and power lines on. The glass was incredibly easy to create: I found a sheet of 1/16" glass, then scored and snapped it to size. The glass and board are held to the bed with binder clips.

The old belt tensioner was a linear bearing riding on a pen, held down with elastics. Needless to say, it didn't work well. I replaced it with a ball bearing on a threaded rod, with washers to restrain the belt and zipties to tension it.

The Third Day

Today is the third day of the rest of my life. Or something. Anyhow, the printer was working fairly well last night. When I woke up, one of the motor controllers was fritzy. Resoldering its contacts got it working again (thank god). After the switching, I'll need to tune the current settings on the controllers.

With the bed level and printing working, I'm back to calibration.

My first print for the day was another one of those infill test boxes. It stuck really well, and the infill exhibited  no "tearout". I also noticed that print quality suffers if the filament line becomes anywhere near taut. Keep slack in the line for good prints. (Image: last night's box on right, with tearout. New box on left, with smooth top). Then the, the Z-axis came loose. The threaded rods are held onto the motors with a bit of tubing. The tubing slips, the whole thing falls. And I get the honor of releveling the bed, again.

I've also been having some software issues. In longer files, the printer eventually misses a line, and requests that the software resend it. Pronterface responds to the sensible request by crashing. Thanks a lot. I upgraded to the latest version of the software. See if that helps.

With those inconveniences out of the way, back to printing! I found a new startup sequence at hydraraptor. He recomended extruding a blob, in addition to the skirt, to help the extruder start working. It works incredibly well.

The next calibration stage was building across a 2cm gap. The first time the printer tried to span the gap, filament oozed in downward arcs. The next layer brought the arcs closer to level. Each subsequent layer pulled the ceiling up and up, and the final cube is identical to the solid one! It's almost ready for the big time!

Also, expect videos and timelapses soon. I'm recording this print, and will put it online.

Second Print

And so a new day dawns, or does whatever it is that new days do before anyone's awake.

After considering yesterday's prints, I made a few changes. First, I reduced the extrusion temperature from 185 to 180. Hopefully, the change will reduce dribble and discoloration of the plastic. Second, I reset the "Extrusion Multiplier" back to 1.0. Previously, the printer was refusing to extrude (mechanical failure, it turns out; not software), and I wanted to see if force feeding it more filament would help. The software fix failed to help the mechanical failure, so I'm resetting the multiplier.

Resetting it introduces a slew of issues, though. The bed was levelled well enough, when the printer was spewing plastic like cheap ... something. Reducing the flow rate requires that I move the print bed. When the printer was spewing plastic, it would adhere anywhere. Decreasing the flow rate requires a corrosponding increase in precision. So, back to step one: printing bed levelling patterns!

The picture above shows all the test patterns I made. From left to right:

First prints!

The 3mm filament just came in the mail, so I've started printing. First up: calibration patterns. First of those? Bed leveling. Before that: recap since last time.

The PCB bent as I prepared it for etching, so it wasn't suitable for printing on anymore. I made up a spiffy new glass print bed out of some basement scrap. Cutting glass is really easy! Just score it and snap! I also finally have four working motor controllers. (Soldering carefully does wonders for quality.)

The first bed level test was all right, but the filament kept sticking to the print head and peeling up. On the second and third tries, there wasn't enough space between the head and the bed: the filament was blocked from coming out.

The fourth attempt just looked weird. Due to a loose belt, the lines weren't quite straight. Additionally, the earlier plastic was laid down in dots instead of as a line. The later fill was perfect. I believe that that concludes the bedleveling portion of this adventure.

The tensioner, a pen with a linear bearing stuck on it, was also replaced. Its rubber bands should be more secure now. Hopefully.

The next print is a 0.5 mm thick wall, to check layer height. If the layer height is too low, the head will drag through the previous layer. Too high and the layers won't adhere. It revealed that the dotted lines I noticed before were caused by a less-than-full extruder chamber. After the printer extrudes around 20cm of material, the chamber fills and the dots are replaced by a solid line. I tweaked the layer height up a bit, and was rewarded with a gorgeous box on the second try.

Heated Bed and Motor Drivers

Good news and bad news. I'll start with the good news.

Good: Heated Print Bed

In the process of polishing the Reprap, I dediced to make a heated print bed. These beds improve print quality by helping the plastic adhere to the bed. During the build, the lowest layers of plastic are warmed by the plate. As the plastics cool, they shrink and detach from the bed. A heated bed prevents that shrinkage.
I found a template for a bed by on thingiverse. This pattern was slightly smaller than others, and printed on letter size paper. After much trouble, I managed to transfer toner onto the board as a resist.