By Ben Nitkin on
"Pannier" means two things. A pannier is either the thing that women wore in the 18th century to make their dresses all floofey or it's a type of luggage carried on the side of a vehicle or beast of burden. Needless to say, I'm working with the second sort.
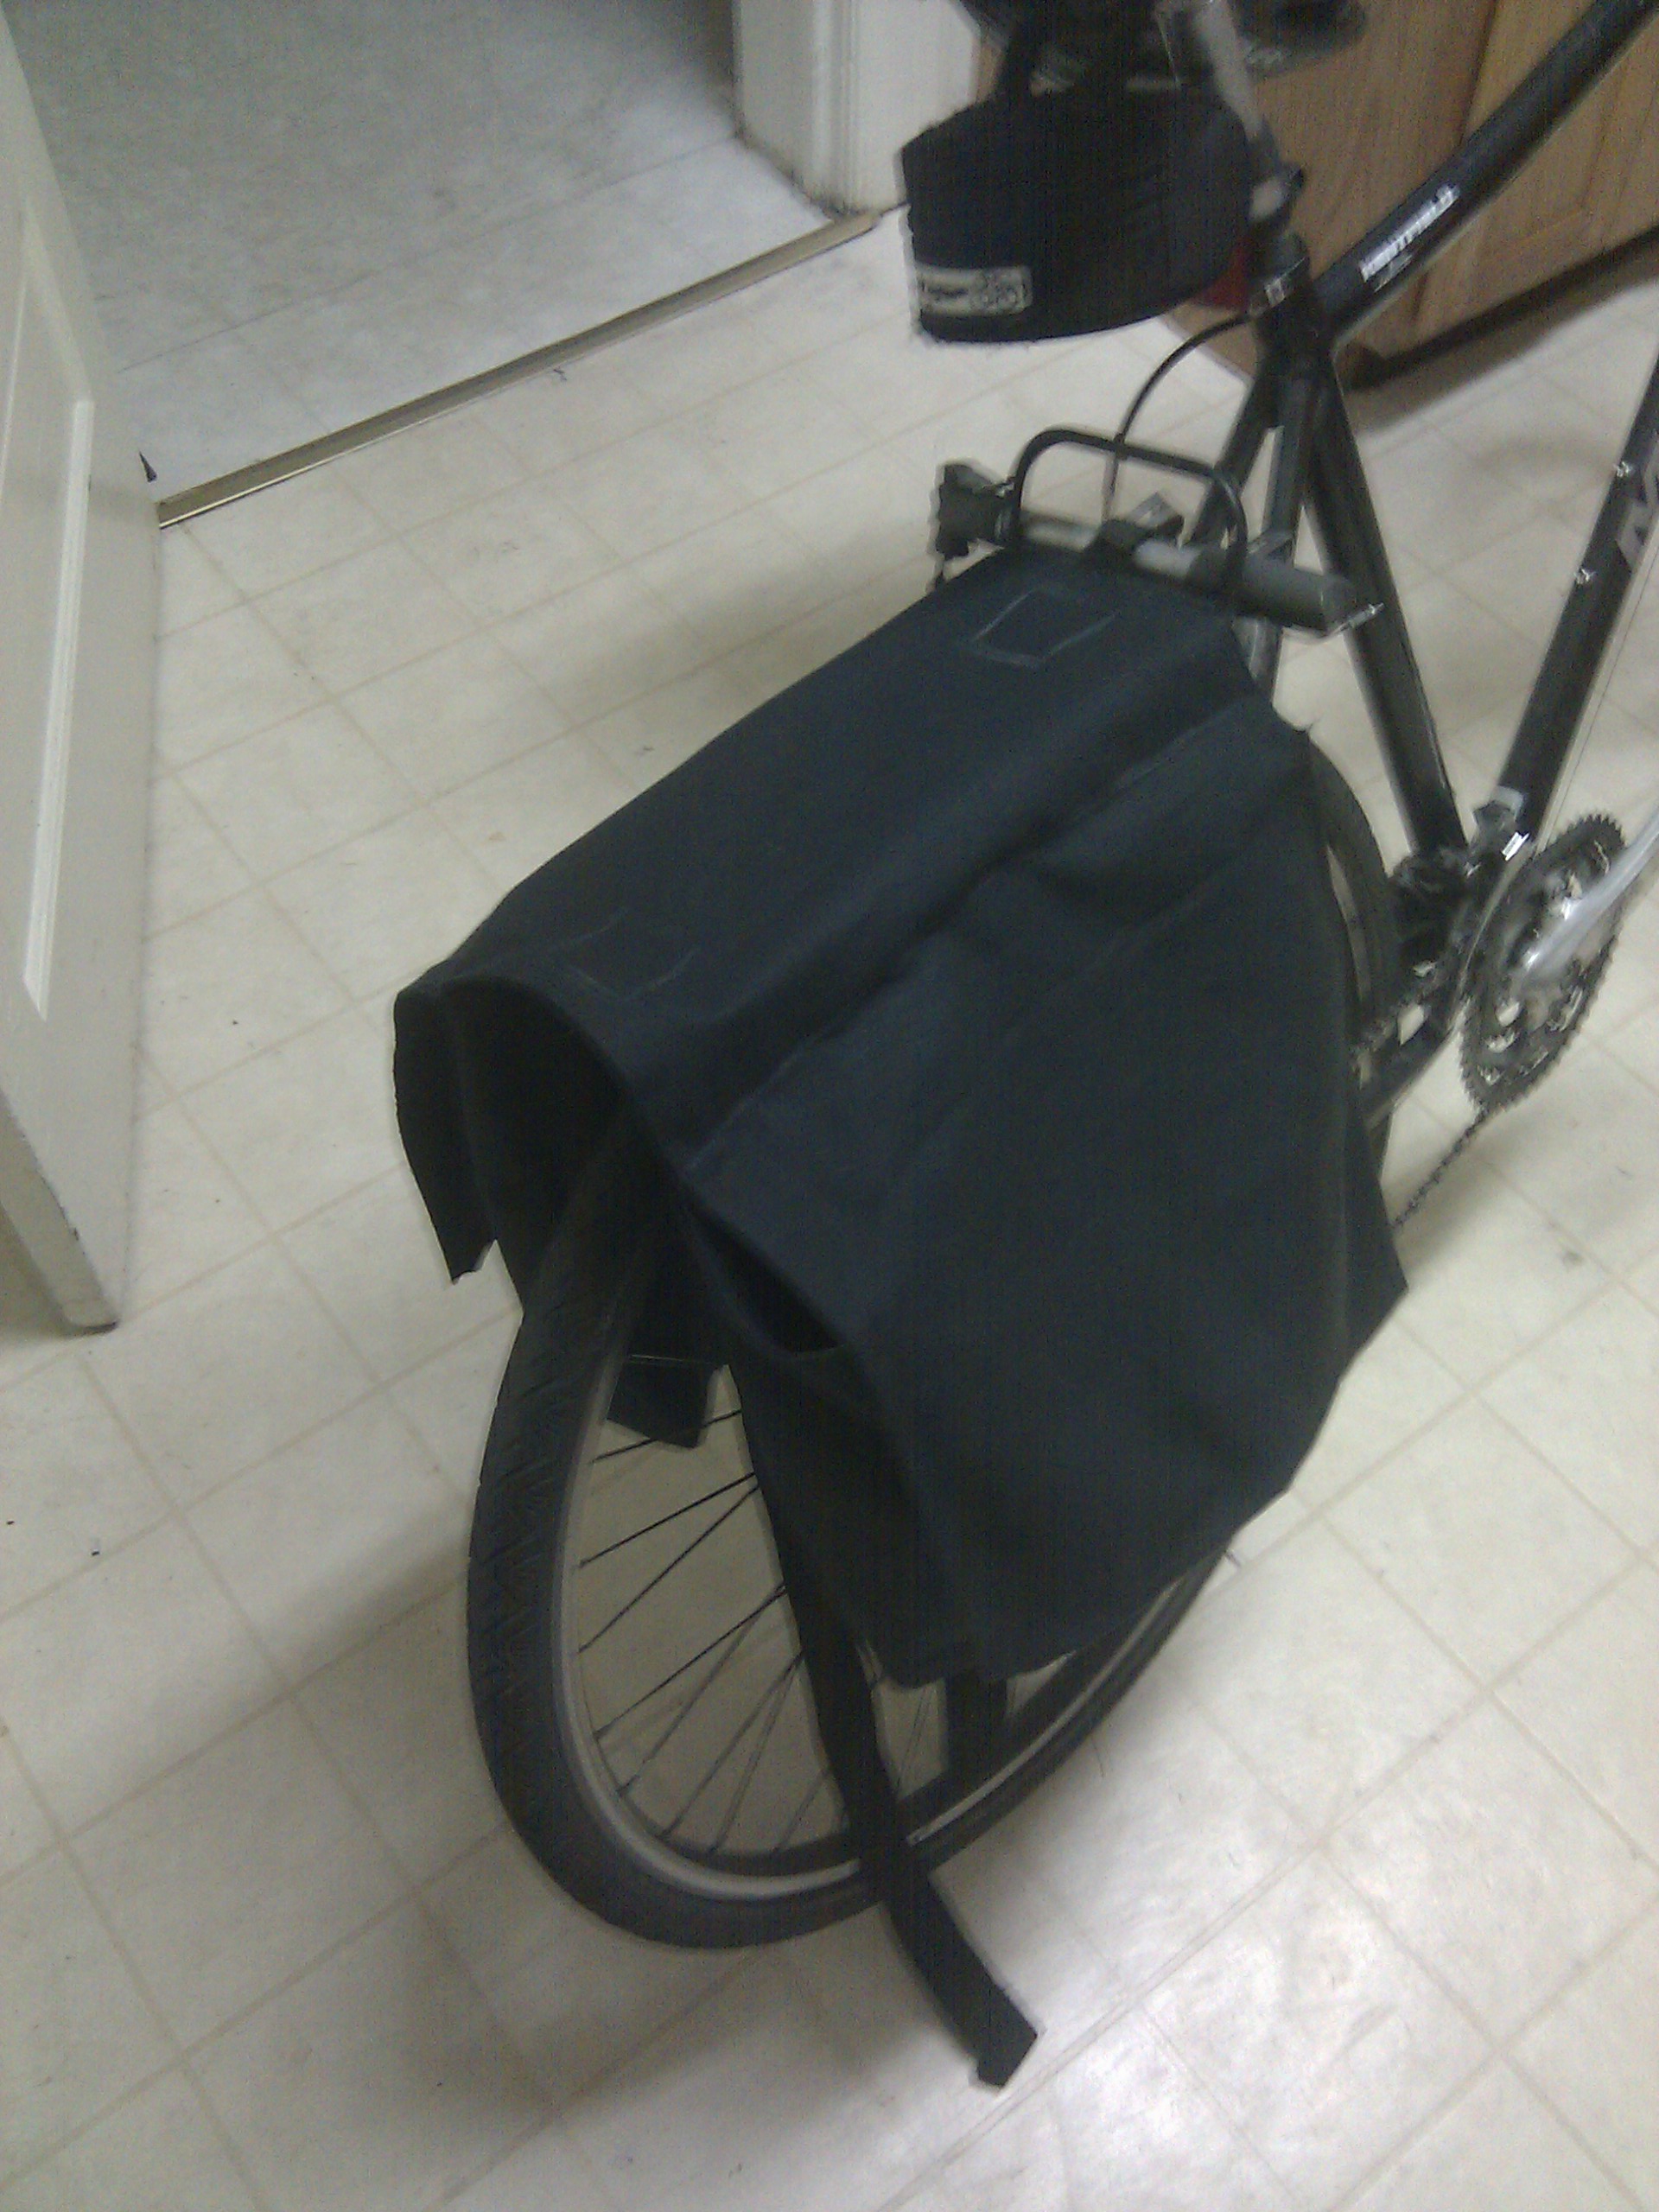
A while ago - say, two years, I got a rack for my bicycle. The rack included a pannier, which was terrifically exciting. It had a center compartment where I took to carrying some basic tools and a reflective vest, and two zipper side pockets that could hold a fair volume. It was great, being able to take my bike grocery shopping or to use the side bags to carry books.
Like all cheap things, though, the bag broke. The side pouches were made from nylon and the seams just pulled right out. Ditto for the center bag - the floor and walls had an argument (or something) and came detached from each other.
Yesterday, I passed a 1 yard remnant (that means cheap) of duck canvas in a craft store. I'd been looking to make myself a set of bags for a while, and this seemed just the chance. (Plus, it was black. I love black.)
Today, I started making the thing. I passed up a few designs for being too bulky or too simple, then found a nice one at bit-of-green.com. The design was simple but usable, light but durable, and easy to modify to taste. Plus, the author included readable set of plans.
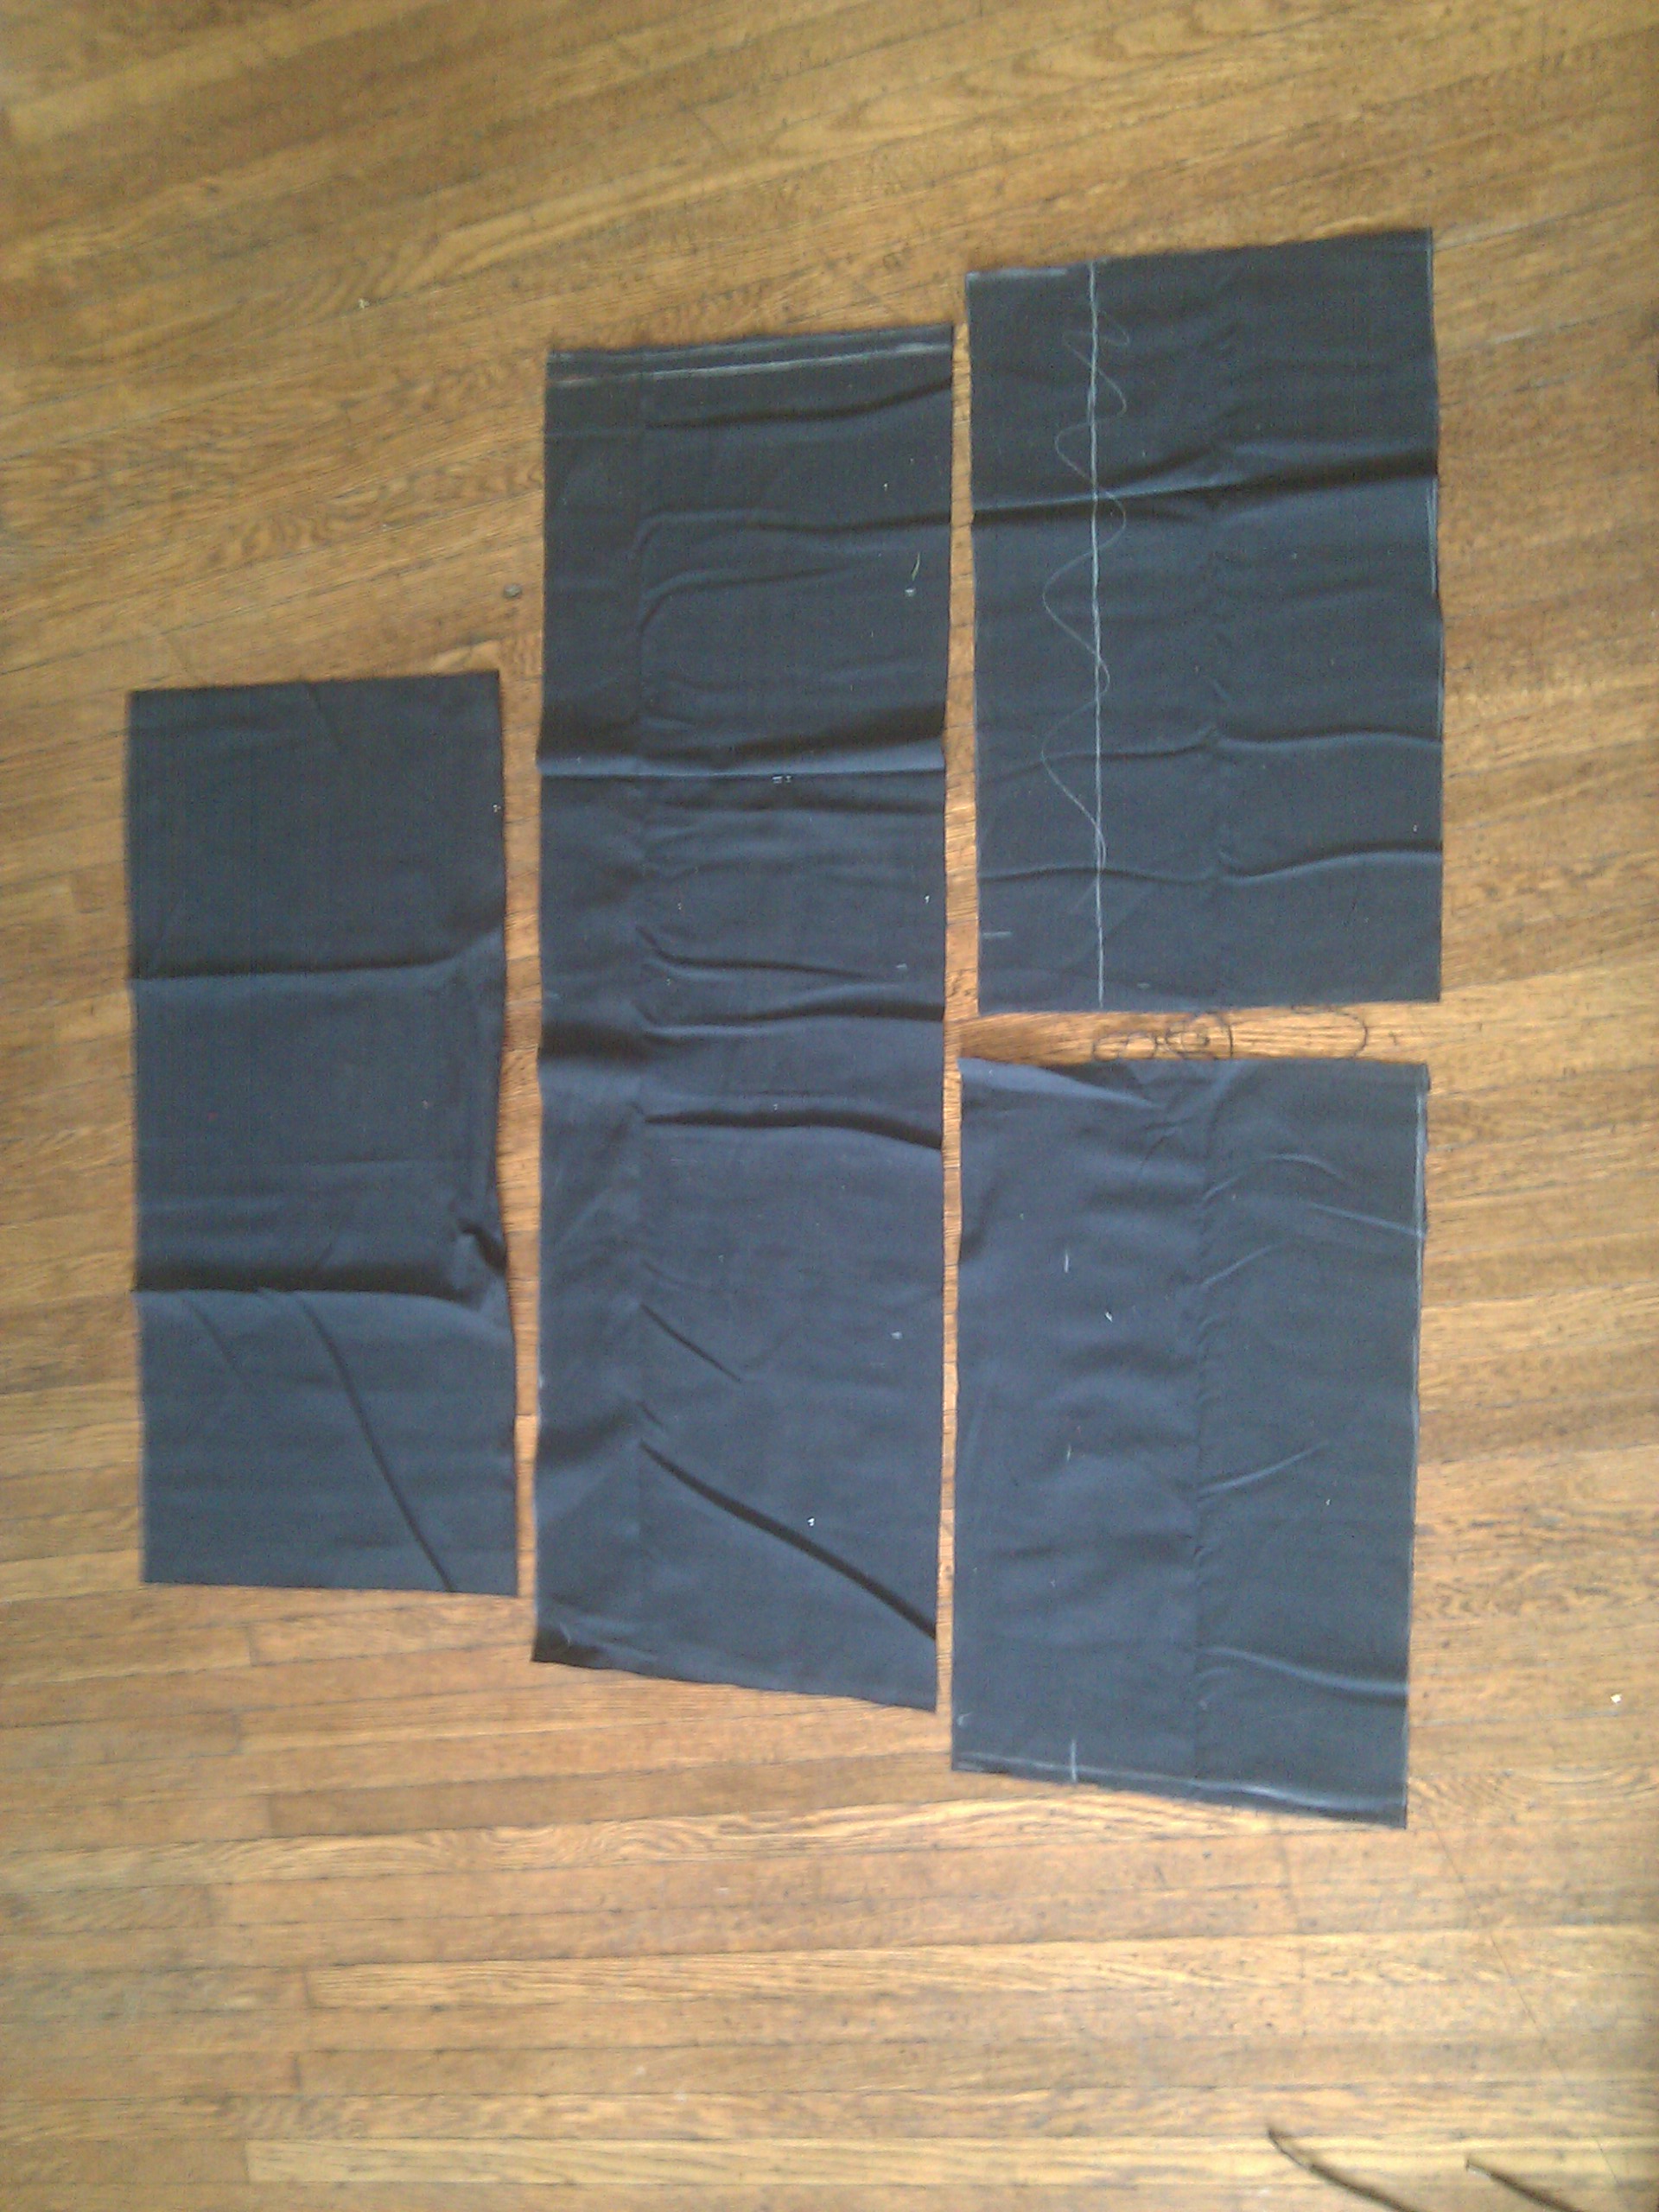
I started by chalking out the pattern on canvas. The canvas was about 3'x6'; somehow, it was just the right size. The pattern uses three main parts: one rectangle slings over the bike, another pair form bags on either side. A final piece forms a lid.
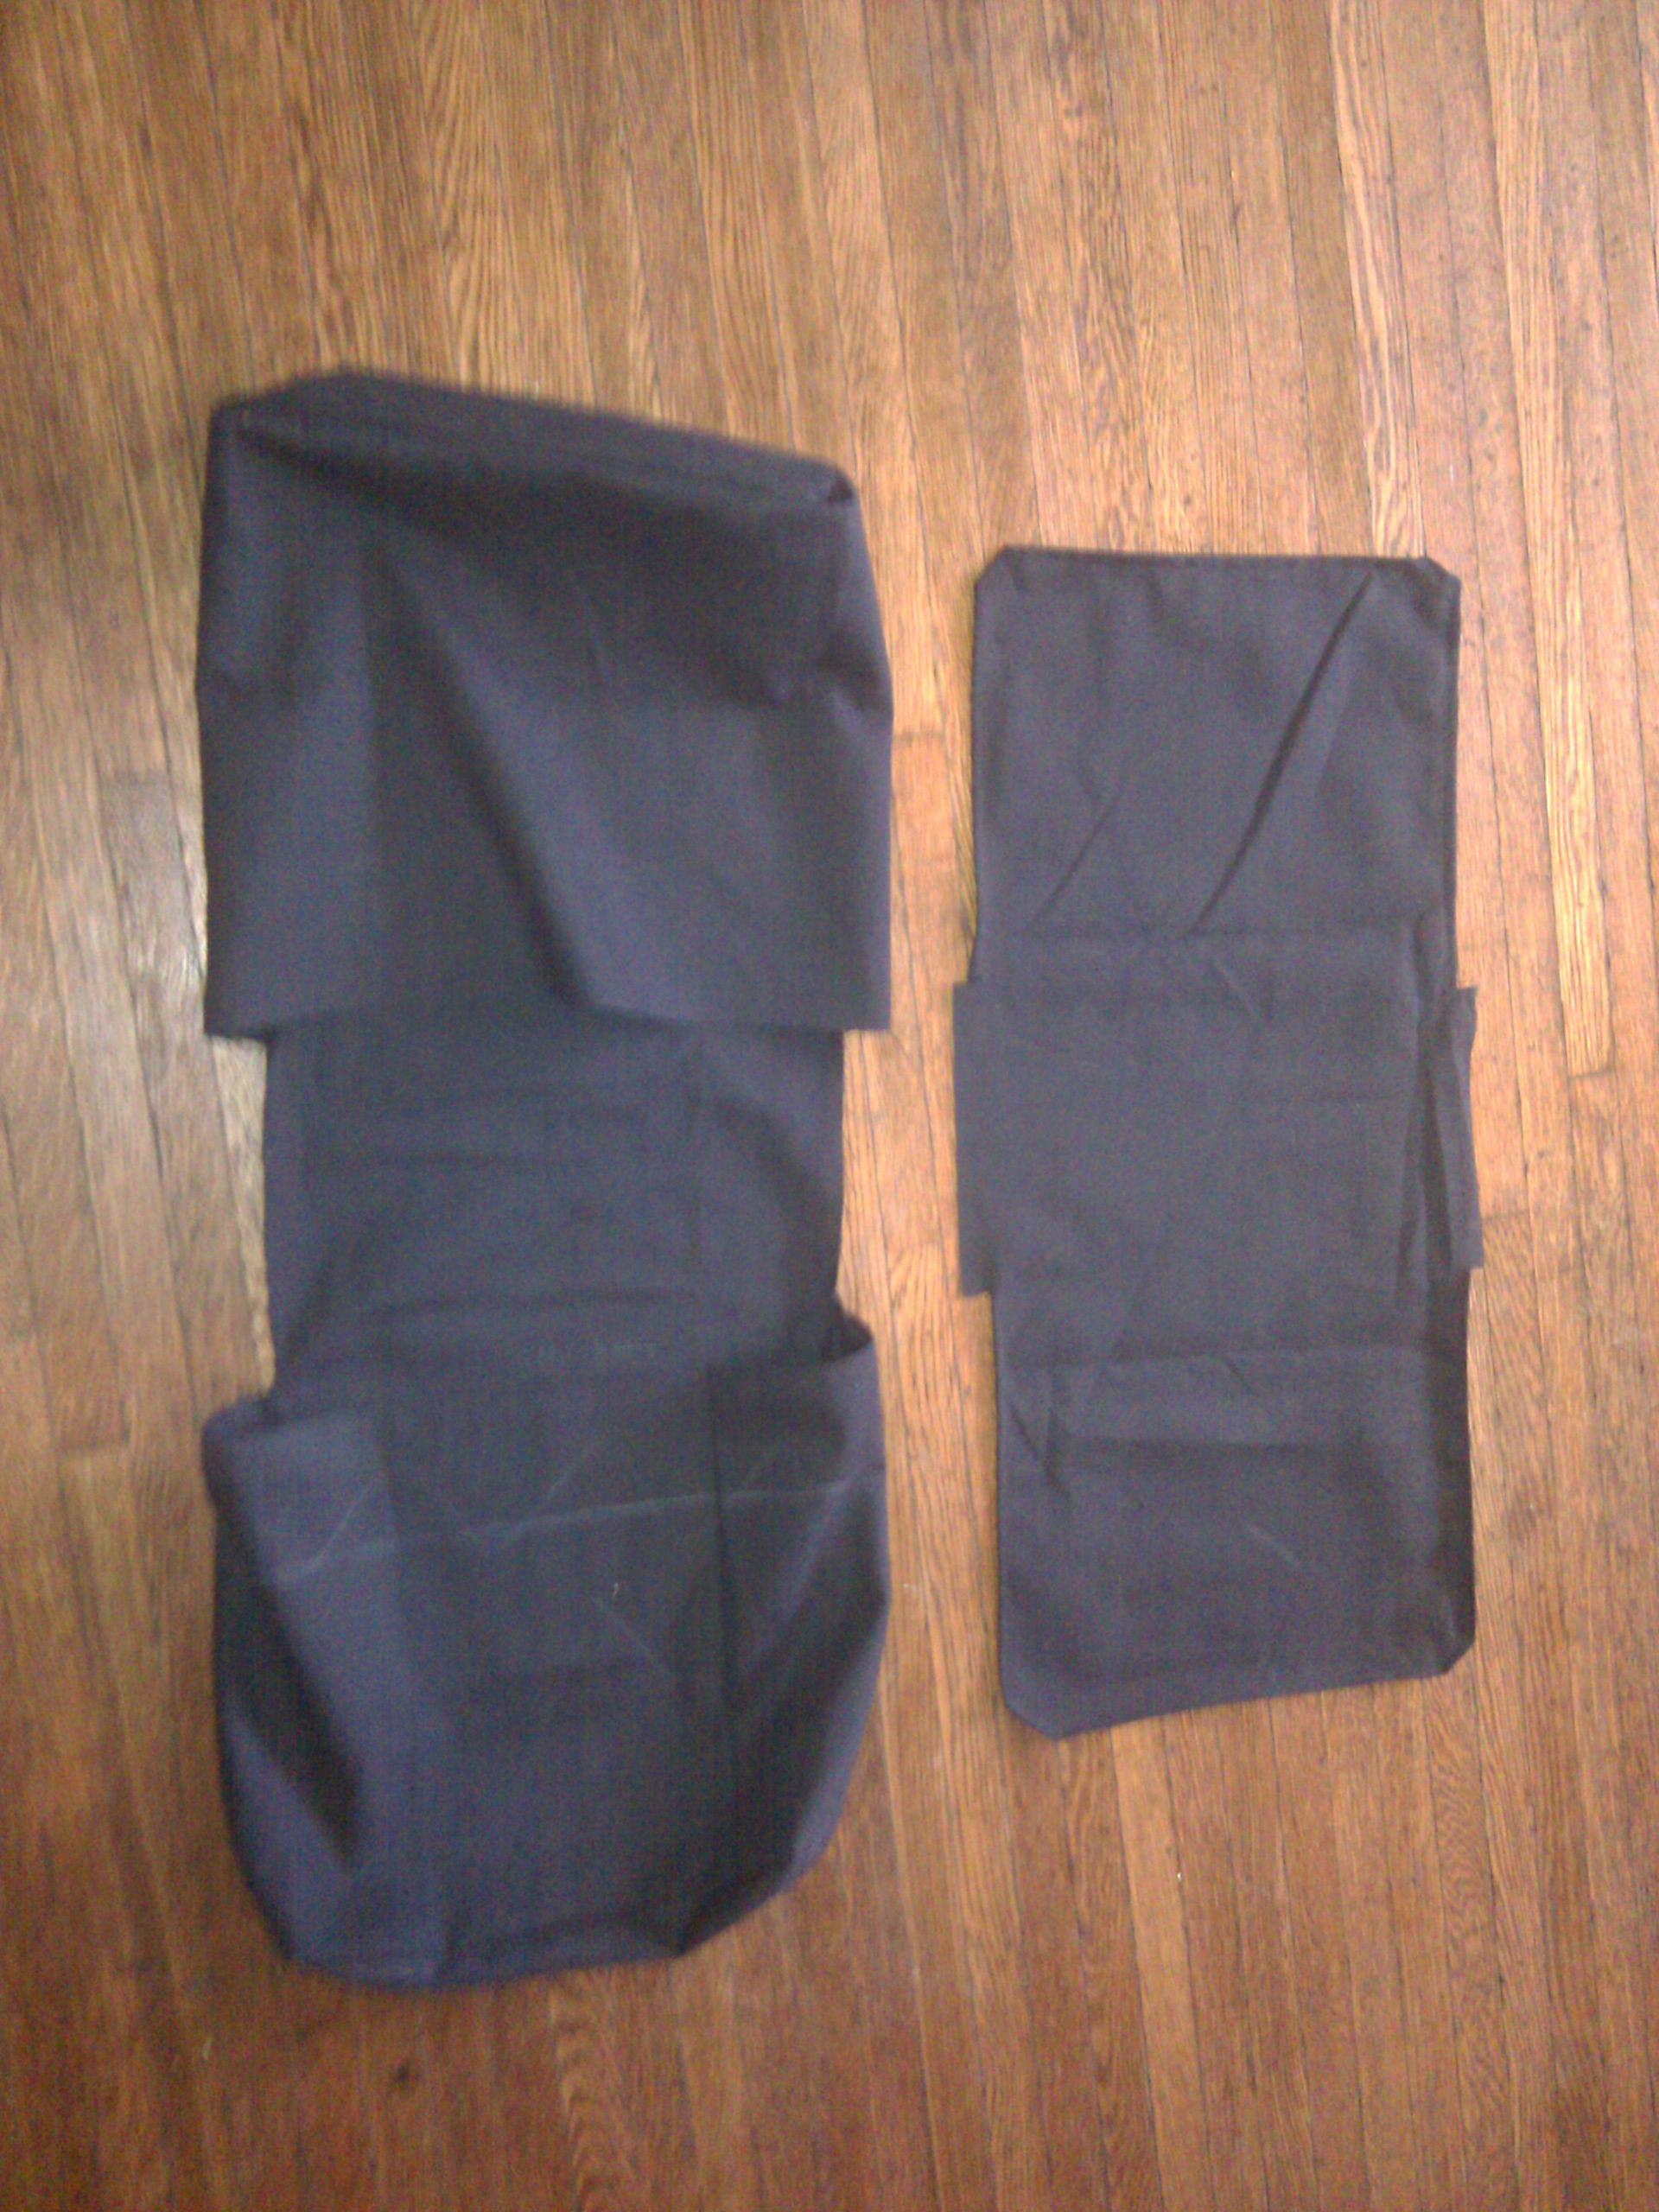
With everything laid out, I cut each shape out and sewed the left and right bag together. (That took some fiddling, especially in the corners.) For durability, every seam was stitched twice. Once the bags were together, the tops were hemmed over so they looked a little nicer. Ditto for the cover, all the way around. The cover and body were stitched together in the middle - in the little rectangle where they meet the bike.
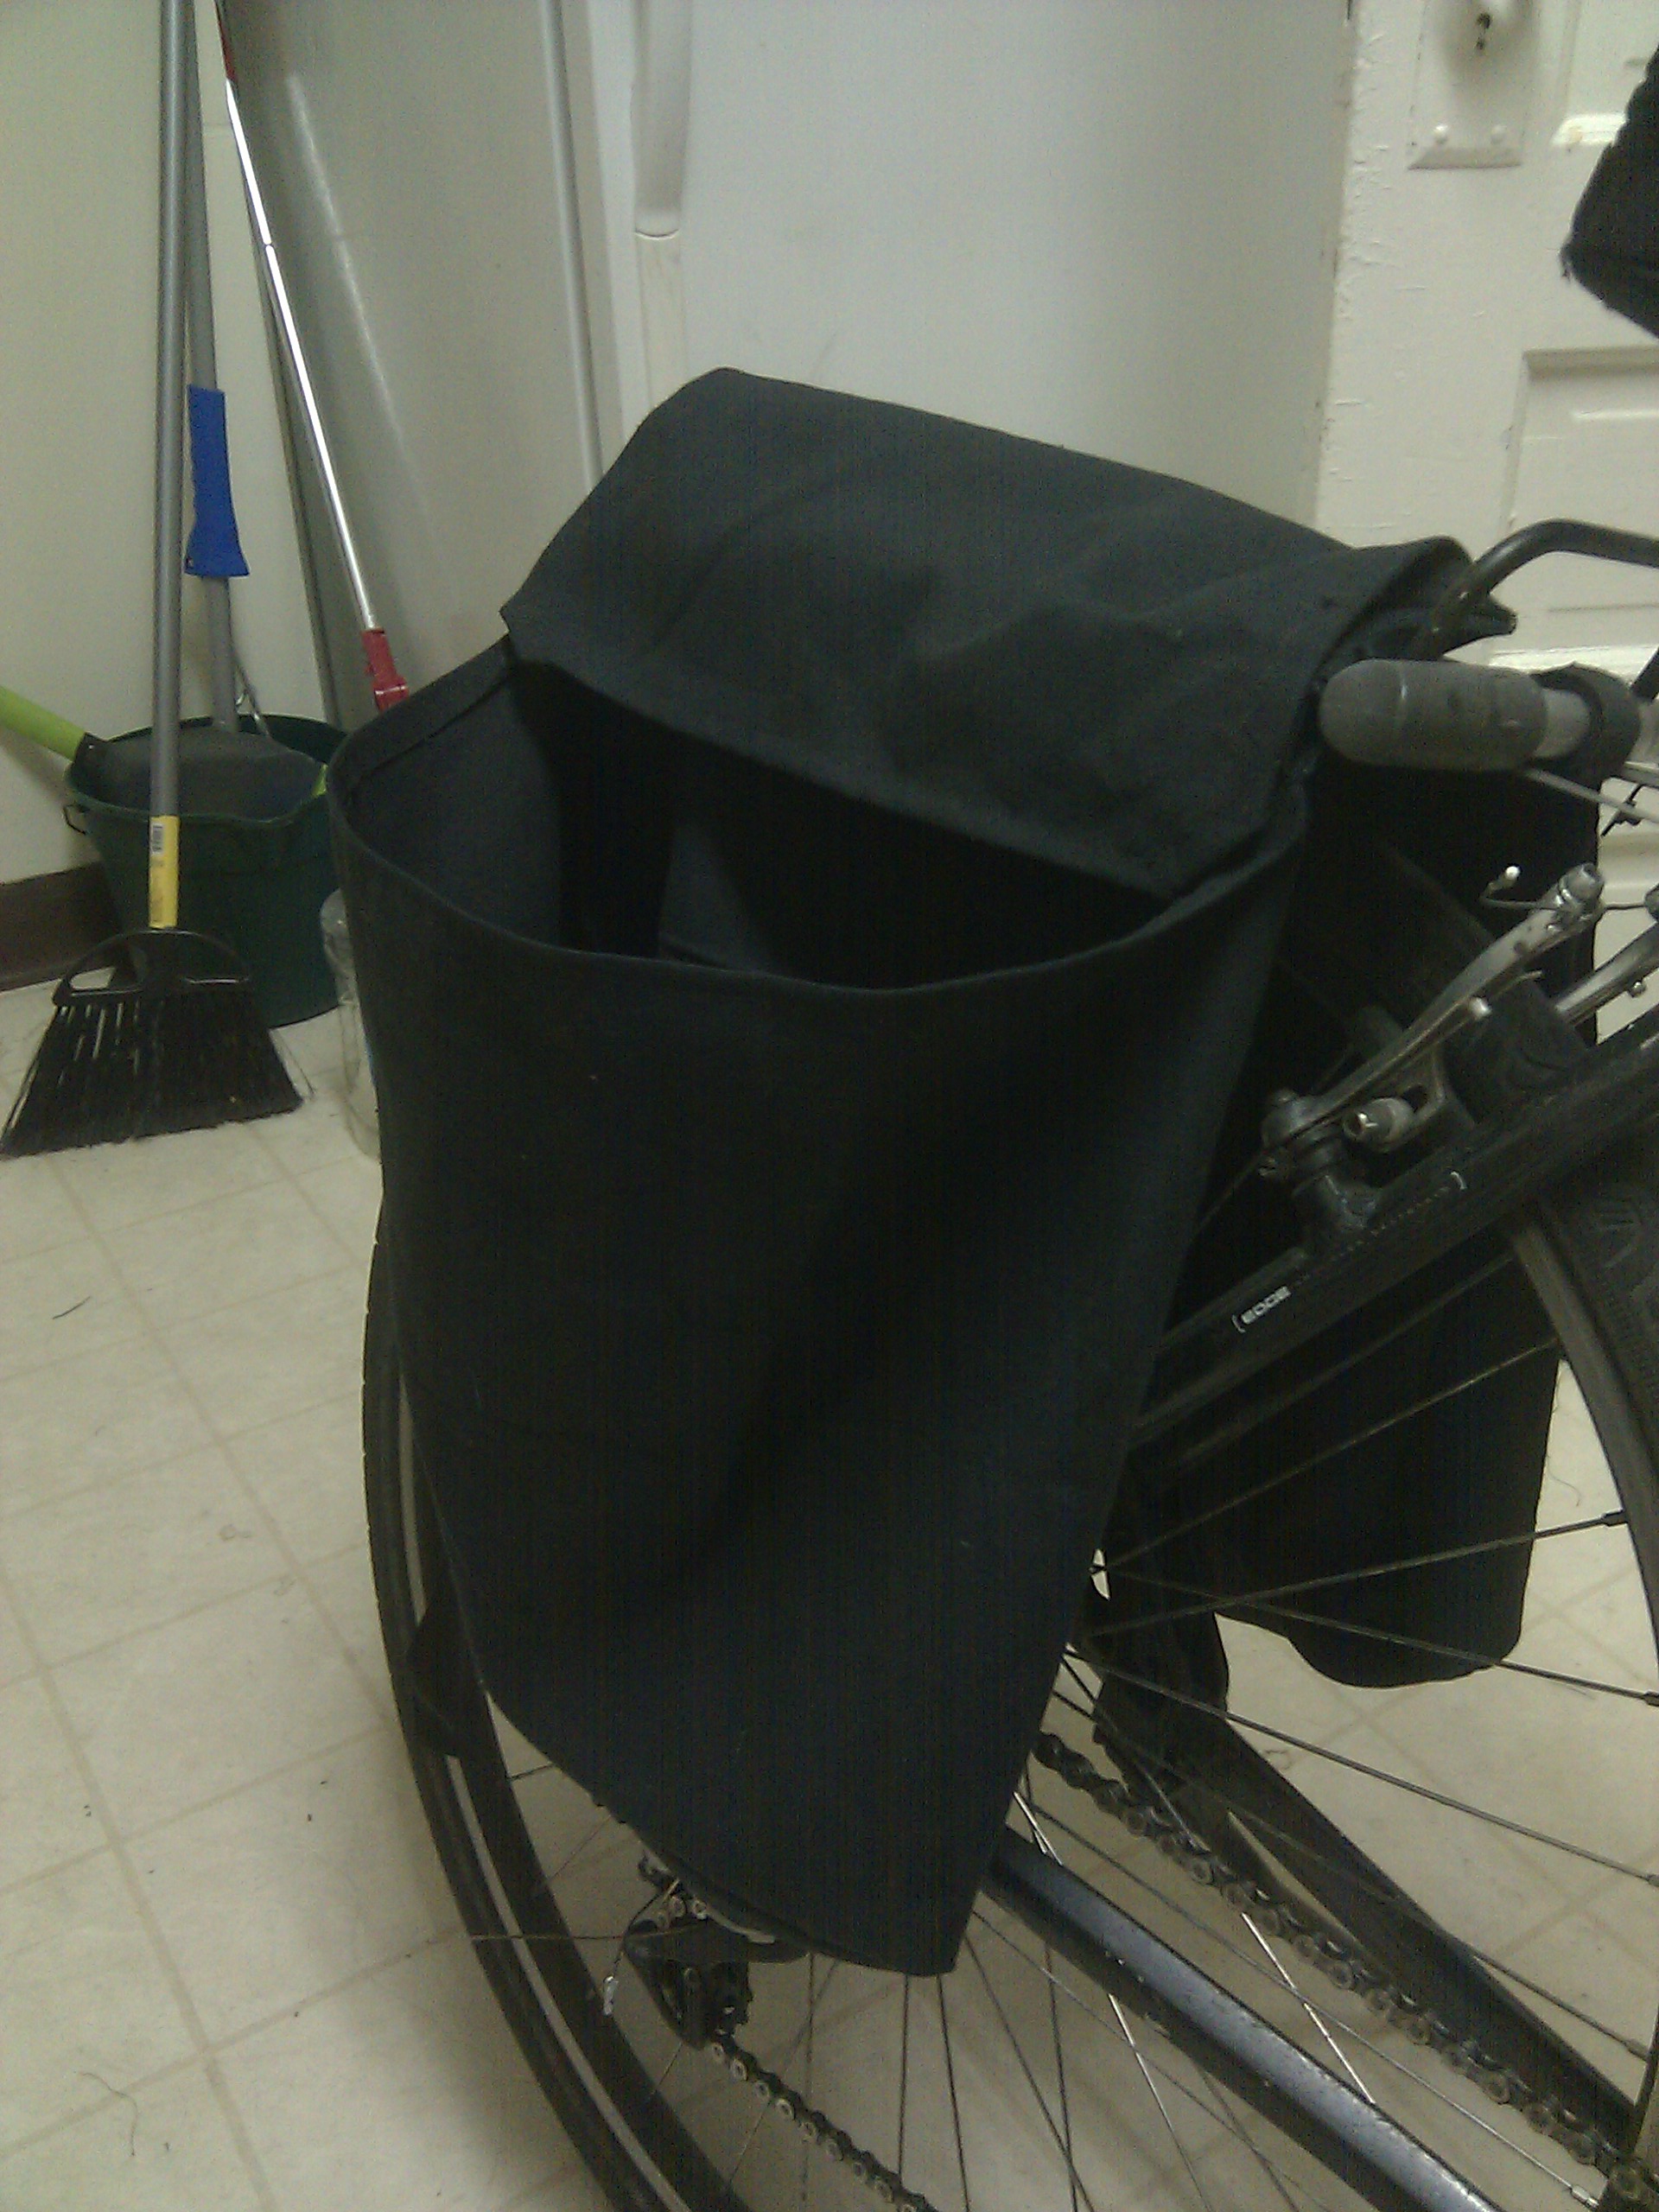
Now, this bag will probably carry weight pretty often, and a fair amount at that. Flour, camping gear, gallons of milk, you name it. So it'll be really reinforced. I took a pair of 2" straps (out of a backpack or something) and started stitching them around the bags, one in front and one in back. In hindsight, the straps should've gone on before the bag went together - stitching on a completed bag takes some wrestling. But it's doable!
Right now, I have one strap partially on. There'll be more on this next weekend, when there's more time for fiddling. All that's left is adding the two reinforcing straps, a clip for each strap, and a handle on the tippity top. For now, some eyecandy. (Also, the plans I used, in PDF form. Credit goes to bit-of-green.)